T110 Rebuild

This blog is about the rebuild of my Dads Triumph T110 after being in "boxes" for 39 years!


Monday, December 30, 2013

Rolling frame

On Friday 27th December, my big brothers came to help with the bike. 
The plan was to get to a rolling frame. First order was to get the rear wheel which had been laced previously all “squared” and balanced, which Roger has a talent for.

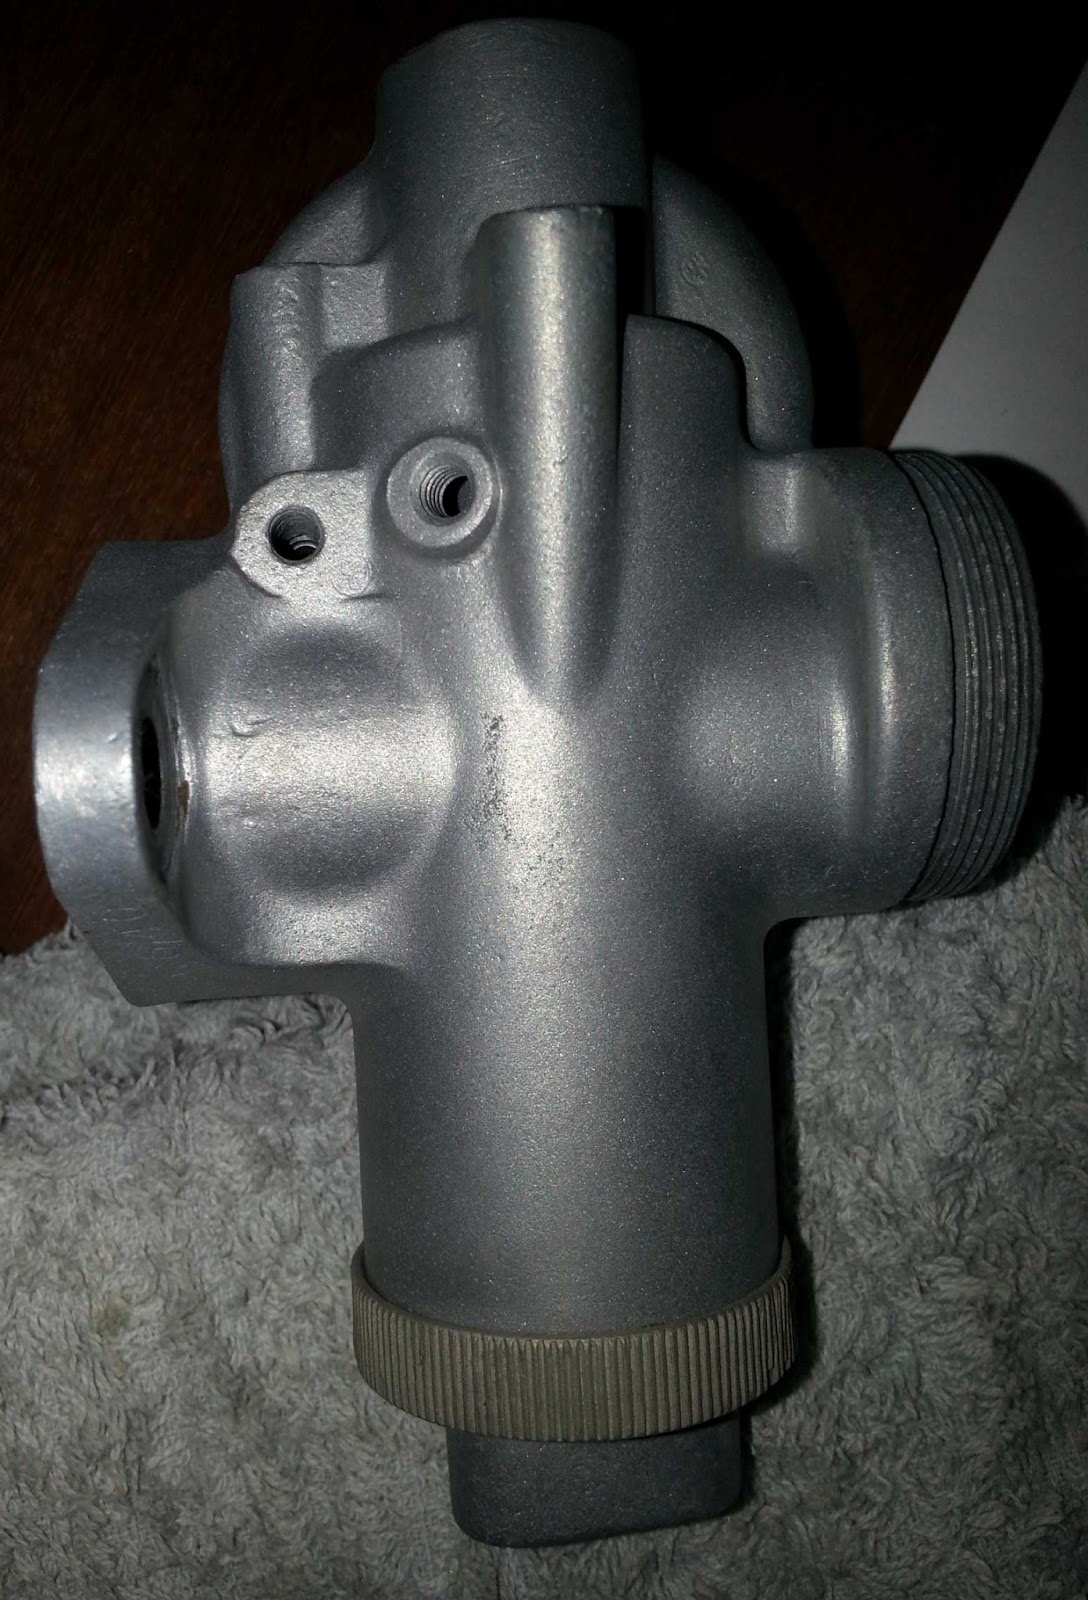
My compressor was repaired by Guy (it had blown the gasket) so that the tubes and tyres could be fitted to both wheels. With some fancy foot work the wheels were given their “tackies”, and look really good.

Fancy foot work!


Then the front forks and steering could be assembled. Found the bearing parts that had been ordered were still not quite correct so one set of race and bearings needs to be re-ordered, but the front end was assembled with the old set for now.


There were 2 handlebars in the boxes I received and we could work out which one is the correct fit.

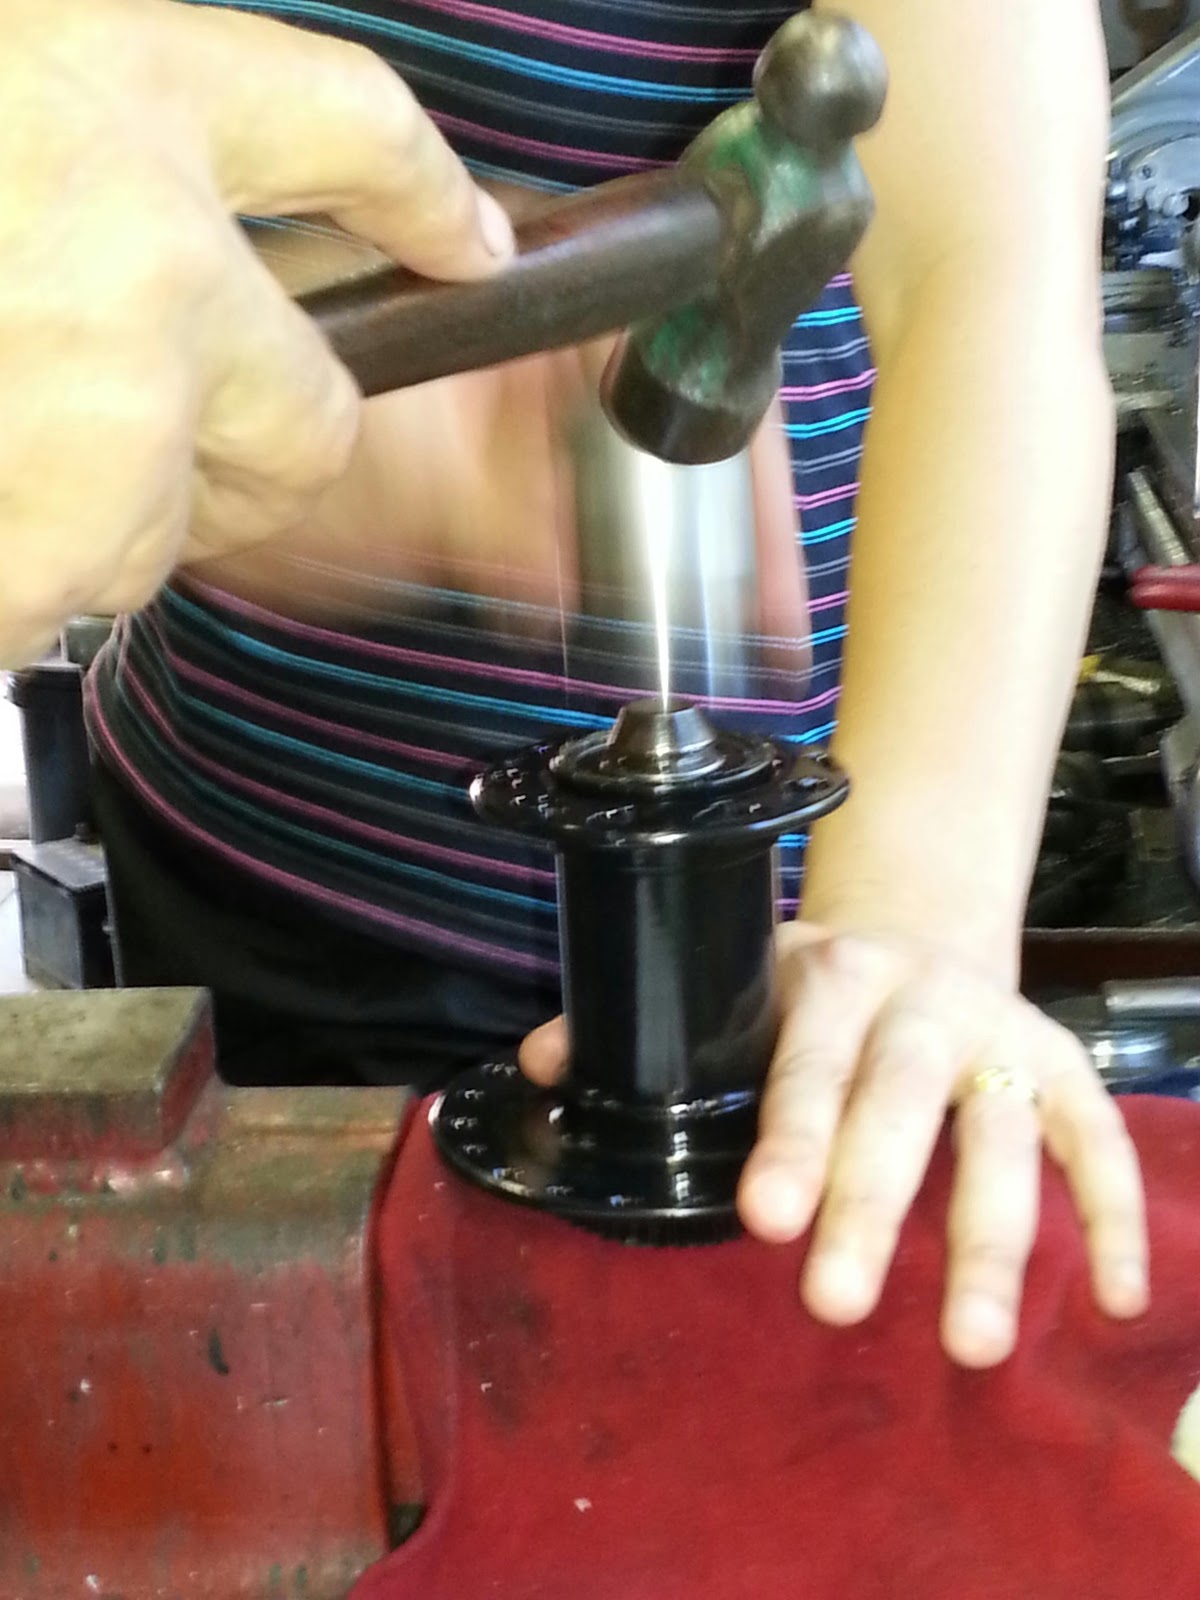
The bike cam with a quick release rear wheel axel which has quite a few fiddly bits. Seems there is still a locking nut and spacer missing which needs to be sourced.

Checking the rear bearing gaps on the vernier - not an easy task even with glasses!

So the rolling chassis took shape.


Dug out some of the tins to see which fit. There are two tanks with the parts. The tins will need a lot of work and attention.


And then time for a test drive - well sort of  !!!
Where did we put that built up engine again???

Wednesday, November 6, 2013

Plating

Just noticed the final plated parts arent on the blog. Here they are, very happy with the results.

Steering head

Quite excited to recieve the steering head set in the post today. Bought it off ebay from Supreme Motorcycles.
I can now see I had quite a few bits missing from my bike. The part is a L.F.Harris part.

Hoping to get a chance to fit it during the end of the year break.

Tuesday, August 20, 2013

Inspiration

Recieved some welcome inspiration from friends Johan and Vanessa. They picked up this triumph during their recent UK travels. :-)


Friday, May 3, 2013

Back wheel

Managed to get the lacing pattern on the back wheel correct after the third attempt! Now just needs to be balanced.

Tuesday, April 30, 2013

Thursday, April 4, 2013

Front Wheel Lacing

So with the hubs powder coated it was time to experiment with lacing the front wheel.
Firstly the new bearings needed to be pressed in.

Then it was time to start figuring out the lacing pattern. I had taken pictures before dismantling the hubs, but of course you can never have too many pictures to refer to.
Once the pattern was right the nipples were fitted with some thread lubricant so the stainless would not fowl up.


The spokes were then loosely tightened by hand. Then mounted on the spindle in the vice to start tensioning the spokes to balance out the rim. A "needle" was set up as a gauge, and then the process of loosening and tightening proceeded. Firstly with a electric drill then more finely with a hand spanner.
play was first corrected side to side and then top to bottom.


Friday, March 8, 2013

Preparing the hubs

In order for the wheels to be rebuilt, the hubs needed some attention. Cleaning and powder coating to be exact. But firstly they needed to be dis-mantled. Removing the bearing dust cover turned out to be quite a challenge. But with a bit a crafty skill from my friend Johan, it turned out to be really easy. Once again proving the right tool, or "home-made" tool for the job makes life a lot easier.


Here are pics of the hub dismantled.


Unfortunately by the time I got these to the blasters and powder coaters it was all ready year end shut down and had to wait for the new year.
This week the hubs went in and have come back. They were double powder coated. Firstly a black coating and then a clear satin coating. Gives a nice deep lustre to the surface and I am told is known to be harder wearing. They were able to protect the insides of the hubs/ bearing surfaces and the breaking surfaces during the powder coating process. 


So I suppose we are almost ready to start assembling the wheels :-).


Parts again

In December two opportunities, to gather some more parts, arose.
One from a gentleman in town who I met through the Lotus Seven Enthusiasts group in PE. Ray was able to help me source the missing stanchions I needed, as the ones I had were badly pitted and believe it or not would cost more to have hard chromed and polished than sourcing a nice new pair, made in Taiwan. Part no: WW28943 (45-39668).


Along with the order came a set of clutch springs and copper washers.

A order was also coming through from Tri-Cor, so a couple of fiddly nuts and bolts were brought in as well as the chrome Horn Grille I had been missing.


At this stage I should have everything needed to assemble the front end - except the wheels arent built up yet!

An Update from 2012

Have realised now that a year has gone by without an update. I had thought that not much had been done, but there are some acquisitions to report on :-).

Firstly my brother managed to get the gearbox insides lined up correctly and hence the gearbox has gone together and is working well. The levers were also chrome plated, which has made a huge difference.
The clutch basket was adjusted and with the new clutch plates has been re-assembled.
Here are some pics:


The clear coating put over the polished casings is not working and is starting to "craze" so will
need to be removed and left as polished.


My brother was also able to vapour blast and clean up the casings of the AMAL Carb, which is a great improvement.


Now need to order a carb refurb. kit.