So we got up early this morning to go look for bolts, the first shop was still closed but the second was fortunately open and had just what we were looking for. Here is a comparison of the old and new bolts.
 |
| Old and pitted bolt left - new one right. |
The assembly could now begin.
 |
| The pieces |
 |
| All together - and torqued |
Next would be fitting the connection rods and bolting them up.
Then the sub assembly could be placed in the casing along with the camshafts in there new bushes.
 |
| It will fit! |
Along came the oil filter with cover plate and 2 gaskets, which were greased before installing.
Then the oil feeder and the new herring-bone pattern pipes.
 |
| A gentle persuasive tap! |
Next the timing gears were positioned.
Not forgetting these two tiny case screws which help secure the two casing halves together.
Before the barrel could be positioned the gasket was greased and put on all the studs had been positioned with loctite prior to this. The pistons were also in place with the new gudgeon pins.
 |
| Rings rotated 120 degrees from each other. |
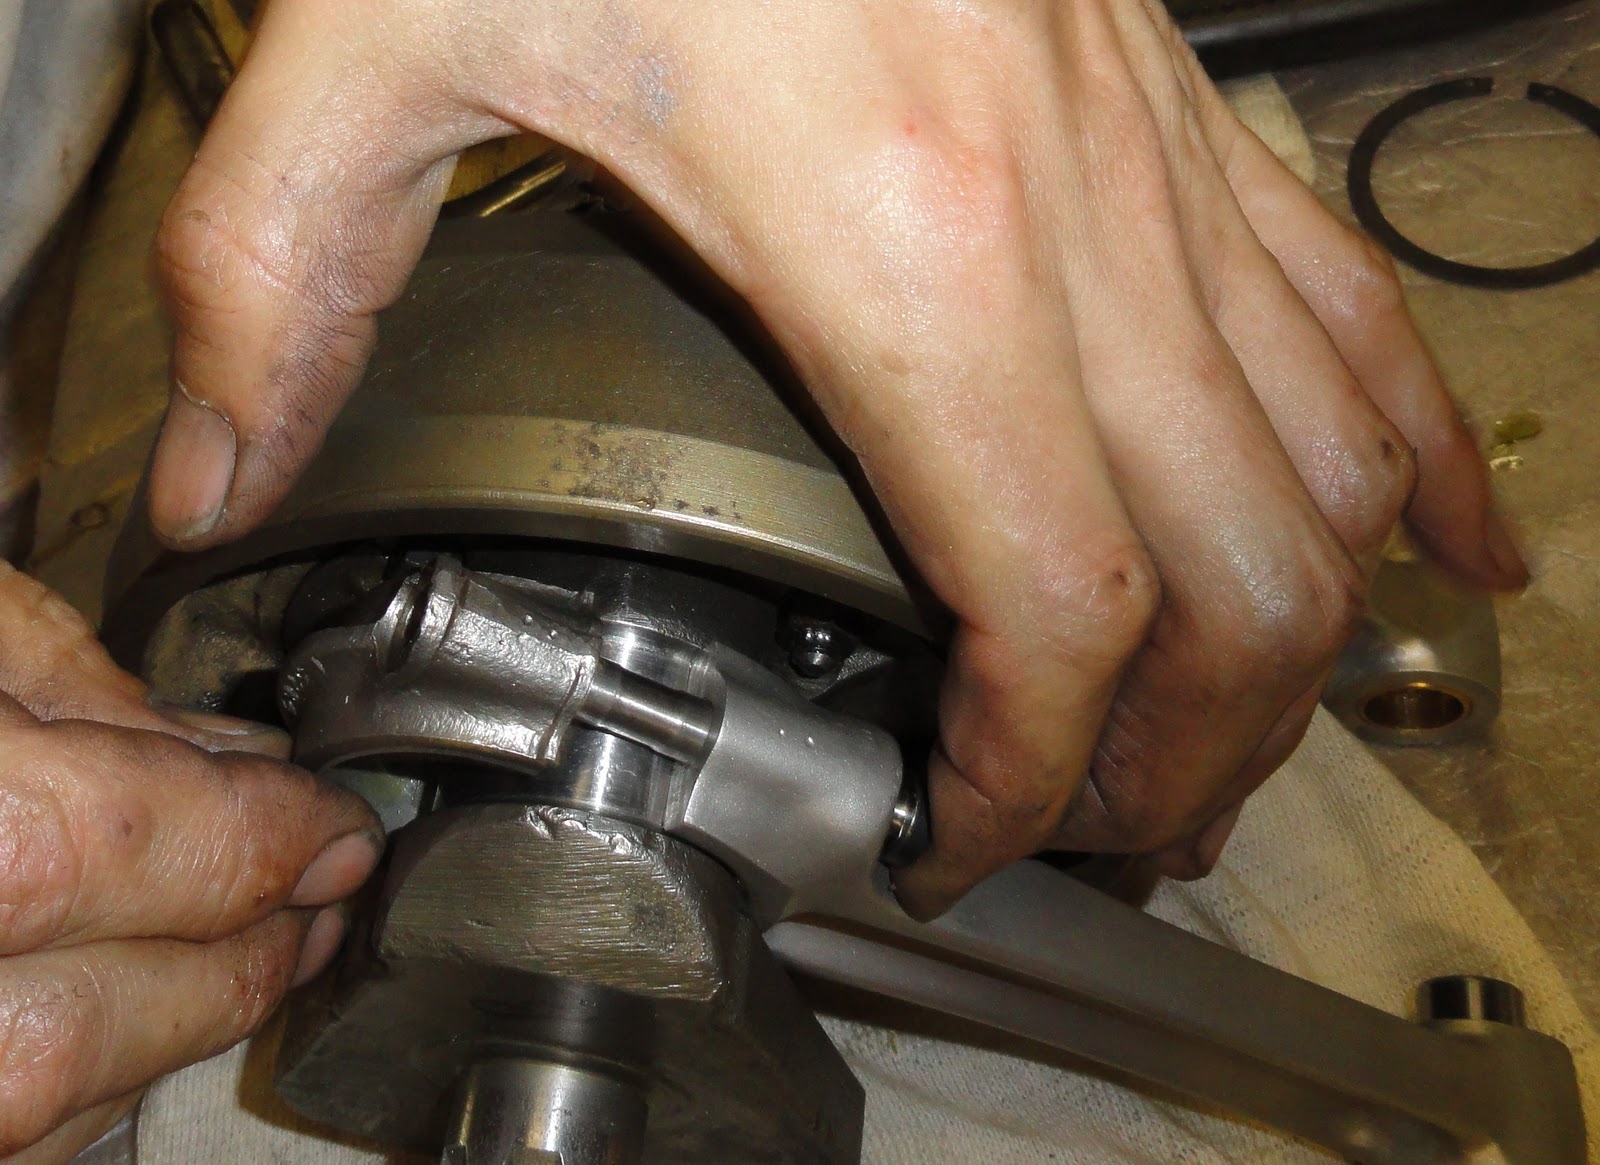
We were then ready to fit the barrel - at first we tried assembling the pistons into the barrel by squeezing the pistons as the manual recommends, but weren't to happy with this. So rather removed the gudgeon pins and pistons and rather used a Piston Ring Compressor to position the pistons in the barrel first then lowered the barrel over the connection rods and replaced the gudgeon pins. Much easier.
 |
| First attempt - not working to well. |
 |
| Ring clamp + a little blood ;-) |
 |
| Gungeon pins replaced. |
Next up were the cam followers, push rods, pushrod tubes and the new copper head gasket (this was new so no need to anneal it).
 |
| Copper head gasket in place. |
Finally the head was ready to be positioned.
 |
| Starting to look good. |
Now for rocker box gaskets - again greased and placed in position, then the rocker boxes could be bolted down and where needed on the assembly bolts were torqued correctly.
 |
| Rockers in position. |
At this time some work was done on checking out the timing degrees and changing a gear position. Some gauges were employed to help pick up the precise inlet and exhaust positions.
 |
| Gauges and gadgets. |
Oh and don't forget the new oil pump!
Clutch was assembled with the new clutch rubbers - still need some new springs - the old ones are a bit tired and misshapen. New clutch plates, both steel and cork were inserted.
Unfortunately the gearbox was not functioning 100% - the one gear was dragging slightly in neutral and was left at the workshop for a bit more TLC, and couldn't be brought home yet.


 Oh and don't forget the new oil pump!


No comments:
Post a Comment