T110 Rebuild

This blog is about the rebuild of my Dads Triumph T110 after being in "boxes" for 39 years!


Monday, November 21, 2016

Cover Pages

Stumbled across this article  a month or 2 ago and realised I hadn't posted it. The T110 still making cover pages ;-)

Its the August 2016 edition of THE CLASSIC MOTORCYCLE MAGAZINE.

Great article to read, an original T110 owner who sold his bike in the 60's and to get it left to him in a will almost 40yrs later.
Great photos of detail and original photos and documentation. Grab a copy if you can.
Here some images:


Thursday, March 27, 2014

A visitor

Today I had a visit from a fellow T110 builder from Klerksdorp in South Africa.
I was put in contact with Kelly through his son in Canada who stumbled upon this blog.
It was good to exchange info and compare parts, brackets and mounting points. It is amazing how the parts on these old triumphs are so interchangeable and how over the years you are not always to sure what you are left with is still original.
It was also encouraging to find out Kelly has traced down two other T110s in South Africa which are restored, and he is planning on paying them a visit sometime.
Keep us posted Kelly.
Good meeting you.
:-)

Monday, March 24, 2014

Panel repair kit

Managed to pick up an inexpensive panel repair kit for assisting to remove the dents and dings on the body work. Will see how it goes.

Saturday, March 22, 2014

Panel beating and the TIG

After priming the mudguards etc. the next step is to fill in some unwanted holes, and cracks which had become evident after the sand blasting. Roger arranged for us to visit a friend with a TIG welder (Thanks Russell). Was an interesting learning curve, but success was achieved with only minor "sunburn" :-).
Figuring out this TIG thing
The front mudguards had quite big gaps in them on either side, not sure if it was purely from wear or if a modification had been done at some time in its past. Anyway the gaps needed filling. Cut some small mild steel filler pieces. Welded them in and then ground them down.
The Gap

Filler Piece
Welded and cleaned up slightly
Also had a lesson on how to start work out some of the many dings and dents in the mudguards - clearly they have had a colourful and adventurous life up until now. Here is a picture of a small part of the front mudguard.


Imperial world

So was thrilled to get a set of imperial spanners for my birthday last month - quite an exciting event in the land of METRIC :-)
So far been struggling with a few odd spanners from my dads garage.

Saturday, February 1, 2014

Primer coat

After getting the tins back they needed to be primed asap otherwise rust will start.
It is now very evident where the body work needs attention.

Sand blasted tins

Got a call this morning to collect the sand blasted tins. They cleaned up very nicely can see all the dings, and found a cracked bracket on the oil tank.

Wednesday, January 29, 2014

Tins ready for blasting

Got the tins ready to go to sand blasting. Removed the unnecessary bolts and brackets. Plugged the threaded holes with dowels. Handed them in this morning, will see how it turns out.

Monday, December 30, 2013

Rolling frame

On Friday 27th December, my big brothers came to help with the bike. 
The plan was to get to a rolling frame. First order was to get the rear wheel which had been laced previously all “squared” and balanced, which Roger has a talent for.

My compressor was repaired by Guy (it had blown the gasket) so that the tubes and tyres could be fitted to both wheels. With some fancy foot work the wheels were given their “tackies”, and look really good.

Fancy foot work!


Then the front forks and steering could be assembled. Found the bearing parts that had been ordered were still not quite correct so one set of race and bearings needs to be re-ordered, but the front end was assembled with the old set for now.


There were 2 handlebars in the boxes I received and we could work out which one is the correct fit.

The bike cam with a quick release rear wheel axel which has quite a few fiddly bits. Seems there is still a locking nut and spacer missing which needs to be sourced.

Checking the rear bearing gaps on the vernier - not an easy task even with glasses!

So the rolling chassis took shape.


Dug out some of the tins to see which fit. There are two tanks with the parts. The tins will need a lot of work and attention.


And then time for a test drive - well sort of  !!!
Where did we put that built up engine again???

Wednesday, November 6, 2013

Plating

Just noticed the final plated parts arent on the blog. Here they are, very happy with the results.

Steering head

Quite excited to recieve the steering head set in the post today. Bought it off ebay from Supreme Motorcycles.
I can now see I had quite a few bits missing from my bike. The part is a L.F.Harris part.

Hoping to get a chance to fit it during the end of the year break.

Tuesday, August 20, 2013

Inspiration

Recieved some welcome inspiration from friends Johan and Vanessa. They picked up this triumph during their recent UK travels. :-)


Friday, May 3, 2013

Back wheel

Managed to get the lacing pattern on the back wheel correct after the third attempt! Now just needs to be balanced.

Tuesday, April 30, 2013

Thursday, April 4, 2013

Front Wheel Lacing

So with the hubs powder coated it was time to experiment with lacing the front wheel.
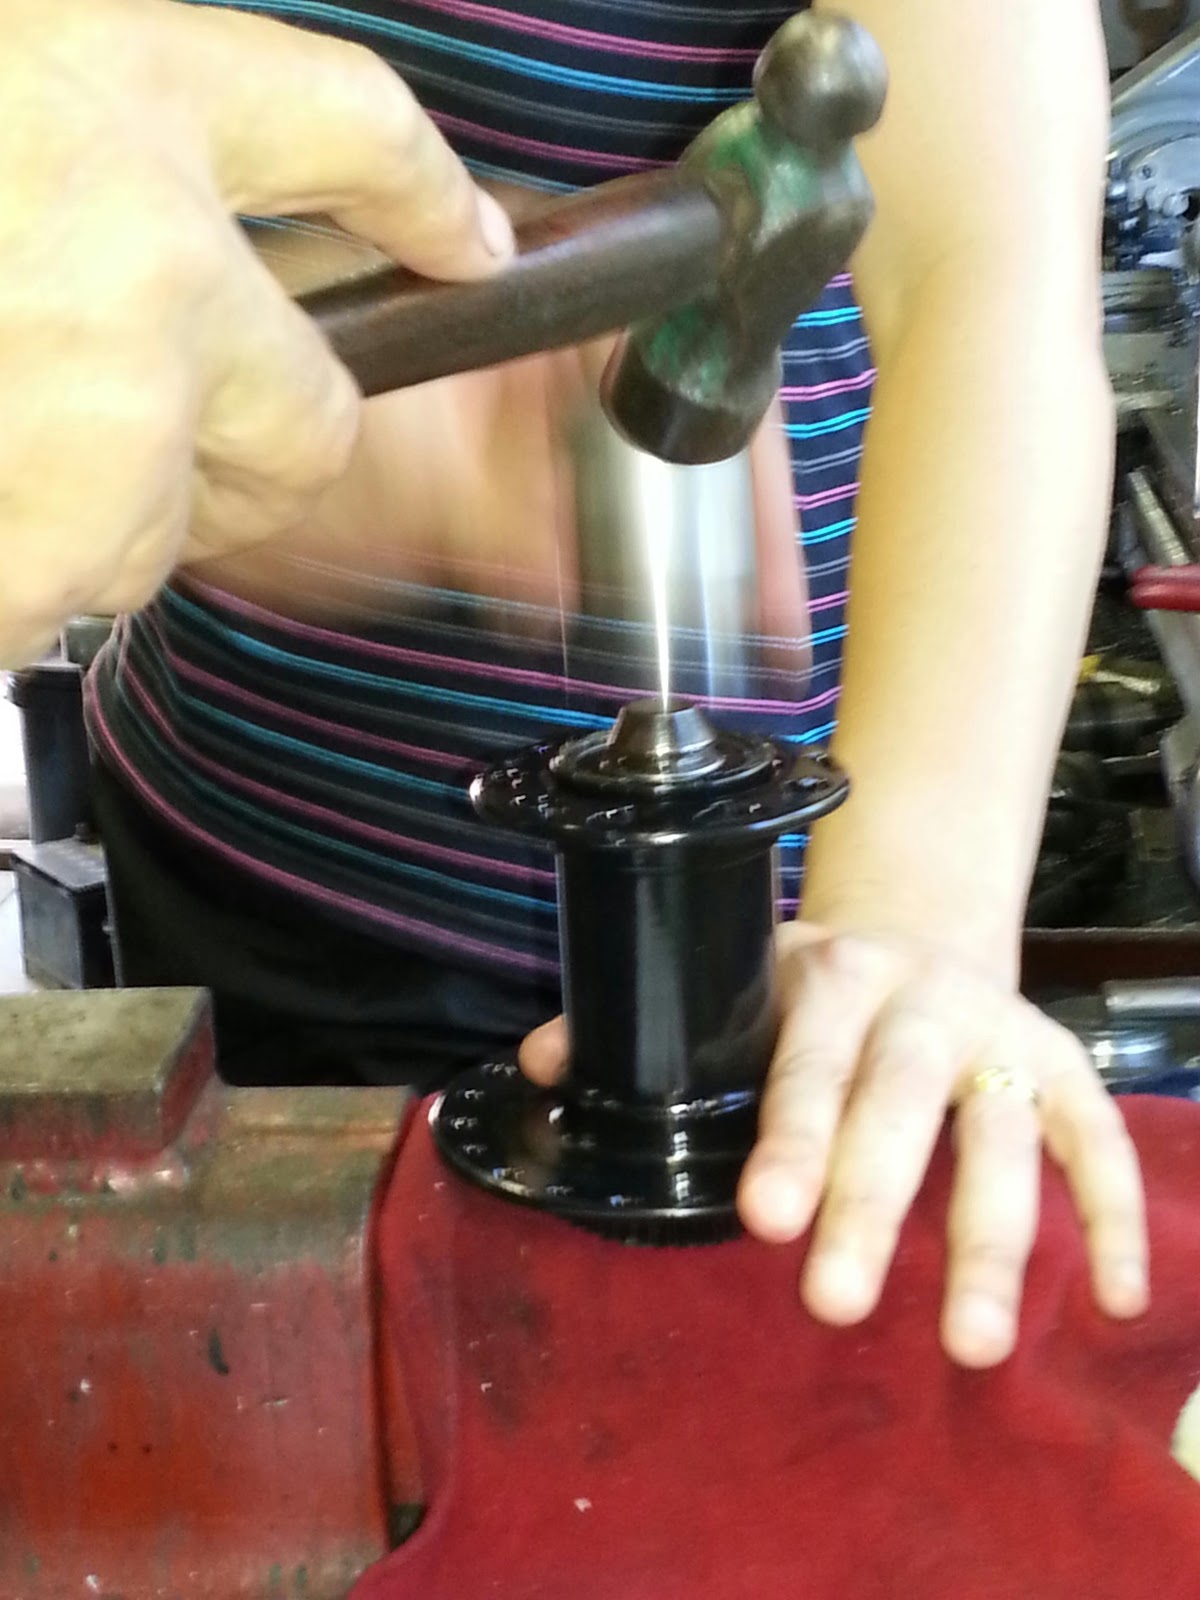
Firstly the new bearings needed to be pressed in.

Then it was time to start figuring out the lacing pattern. I had taken pictures before dismantling the hubs, but of course you can never have too many pictures to refer to.
Once the pattern was right the nipples were fitted with some thread lubricant so the stainless would not fowl up.


The spokes were then loosely tightened by hand. Then mounted on the spindle in the vice to start tensioning the spokes to balance out the rim. A "needle" was set up as a gauge, and then the process of loosening and tightening proceeded. Firstly with a electric drill then more finely with a hand spanner.
play was first corrected side to side and then top to bottom.